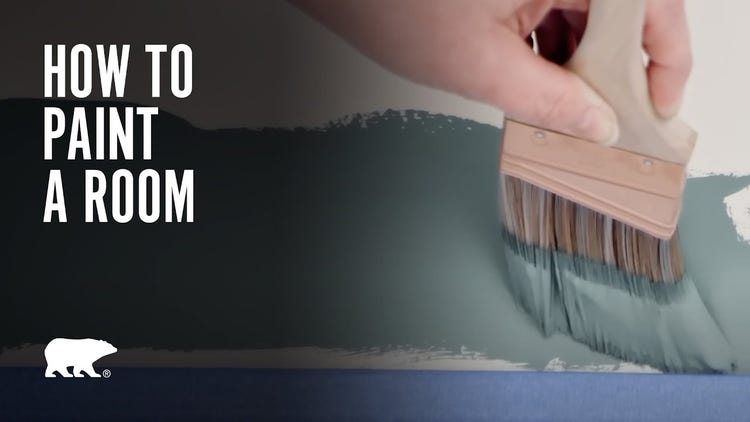
How to paint a room
Walls are the most visible, and therefore perhaps the most important, element of your DIY interior paint project. With proper preparation, tools, and painting techniques, you can ensure a quality result. Watch the video above to see how we transform this space, and follow along with the simple step-by-steps below.
For Best Results:
If you need to stop or break during your paint job, stop at a natural break in the wall.
When you are nearing the end of one container of paint, find a natural break in your project. Open a second container and mix it into the paint from the first container. Stir well.
Clean spills and drips using a damp cloth while the paint is still wet.
Tools & supplies
- Paint
- Paint Can Opener
- Stir Stick
- Screwdriver
- Spackle and Applicator
- Sandpaper (150-220 Grit)
- Painter's Tape
- Angled Sash Brush (2"-2½")
- Roller Cover and Frame
- Extension Pole
- Paint Tray
- Paint Tray Liner
- Rags
- Drop Cloths
Step-by-step process
Step 1
Grab your tools.
Step 2
Move your furniture and cover it and the floor with drop cloths.
Step 3
Using a screwdriver, remove all cover plates from light switches and outlets.
Step 4
Fill any holes with spackle. Wait for it to dry and lightly sand. Wipe off any excess dust.
Step 5
Tape off any areas using an arm’s length of tape. Press down firmly to prevent any paint from seeping behind it.
Step 6
After stirring the paint, dip an angled sash brush in the paint and then paint along the tape to form a border that is double the width of the brush.
Step 7
Pour paint into the paint tray. Grab your roller and dip it in the paint making sure it is completely saturated. Roll it up and down on the tray to remove any excess paint.
Step 8
Roll a “W” on the wall with the roller, filling the empty spaces in a top to bottom motion. This will help place an even distribution of paint onto the wall. Repeat this until you have completely covered the entire wall.
TIP: The "W" should not be any wider than one arm-length, which is typically twenty-four to thirty-two inches.
Step 9
Wait 1–2 hours for interior paint to dry between coats before recoating using the same process as step 8.
Step 10
While the paint is still wet, peel off the tape.
Step 11
Clean up your tools using warm soapy water.
Frequently asked questions
A common question before starting any paint project is how much paint you’ll need for your space. For example, many homeowners ask, how many gallons of paint do I need for a 12x12 bedroom? The answer can vary based on ceiling height, number of coats, and surface type.
To get the most accurate estimate for your room, use Behr’s Paint & Stain Calculator to quickly determine how much paint to buy before you begin.